Why Debossing Looks Flat on a Rigid Box — and How to Get a Deep, Visible Deboss
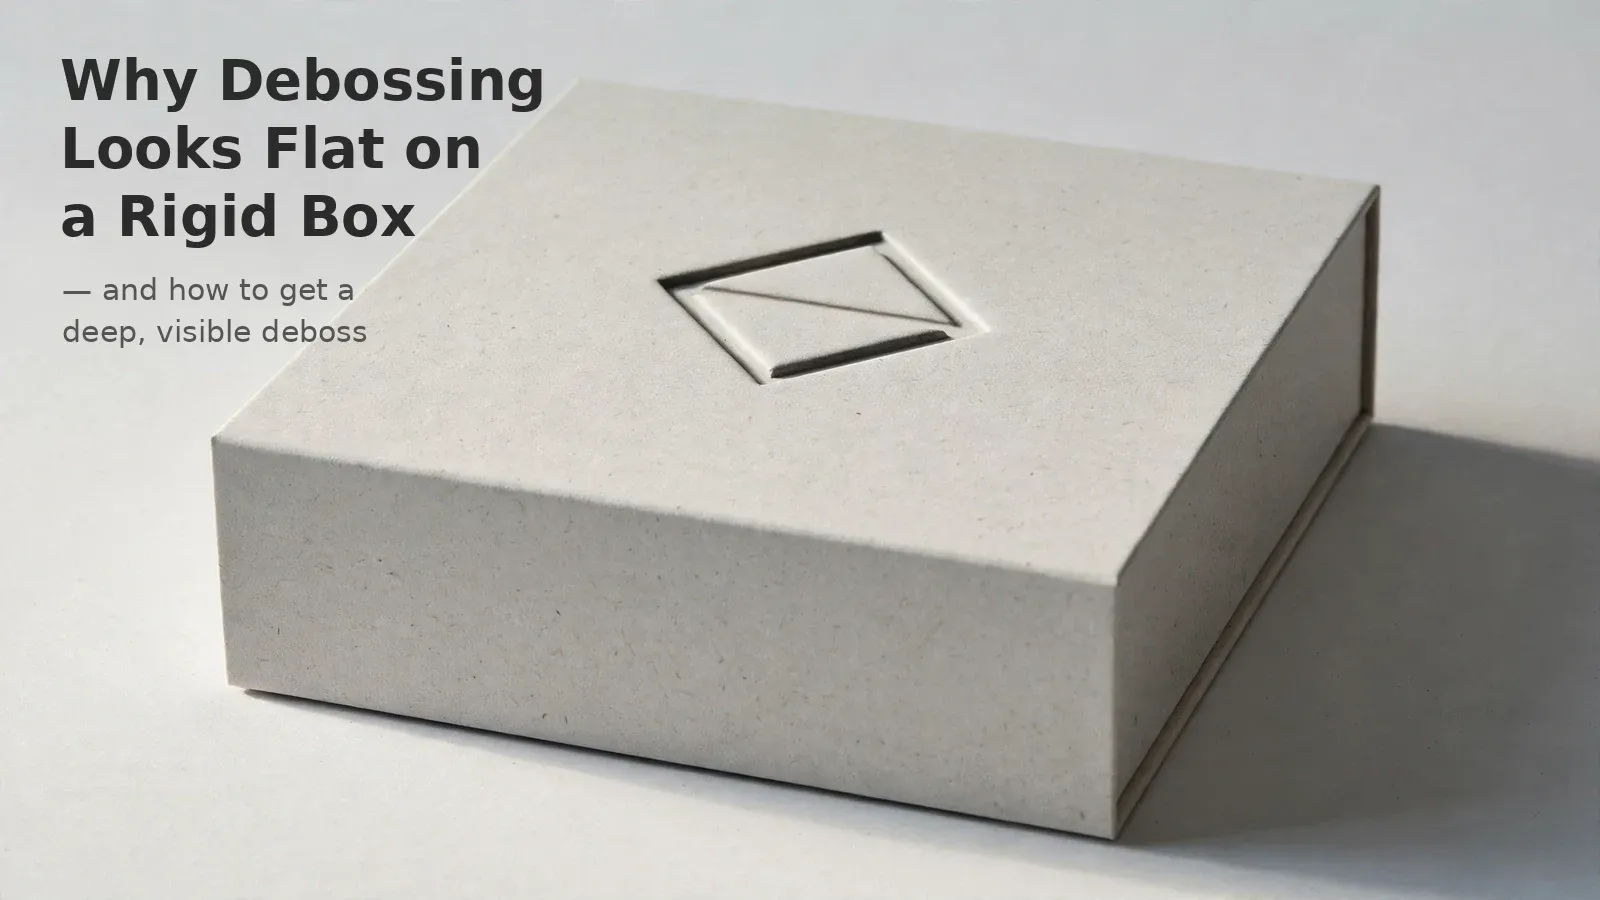
Debossing only the face paper looks flat because the paper is too thin to hold any depth. On 157g coated paper, the debossed effect is barely visible — and the flat greyboard underneath gives it nothing to press into.
For a deep, visible deboss on a rigid box, deboss the face paper and the greyboard together after the paper is wrapped around the board. And leave spot UV out of the debossed area: once the box is formed, the dimensions shift, and the UV will not register accurately.
That is exactly what our factory recommended on a real collapsible magnetic box project, and it is the specification the order went ahead with: anti-scratch matte lamination plus debossing, no spot UV.
Why Debossing Looks Flat on a Rigid Box
A rigid box is not a single sheet of paper. It is printed face paper wrapped around greyboard — commonly around 1.5–2.5 mm thick. Debossing works by pressing a design down into the material, so the result depends on what is underneath the surface as much as on the surface itself.
Three things work against a shallow deboss here:
- The face paper is thin. In this project the face paper was 157g double-coated paper. The factory's verdict was direct: the deboss effect on 157g coated paper is not obvious, because the paper is thin.
- The greyboard underneath is flat and hard. Pressing a thin sheet against a flat board leaves nowhere for the design to sink into. As the factory put it, if you only deboss the face paper, there is no effect — the paper is thin, the board is flat, and once the paper is wrapped around the board, debossing the paper alone is pointless.
- The box is already formed when the deboss is judged. A rigid box is wrapped, glued, and formed before anyone looks at the finished surface. A deboss that looked acceptable on a flat printed sheet can disappear once that sheet is stretched around a board.
If your debossed logo looks faint on the finished box, the problem is usually not the artwork. It is the structure underneath it.
The Fix: Deboss the Face Paper and the Greyboard Together
The factory's recommendation was simple: remove the spot UV, and deboss the face paper and the greyboard together — press both layers down as one, after the paper has been wrapped around the board.
Pressed together, the design sinks into the board itself instead of denting a thin sheet against a hard flat surface. That is what produces a deep, visible deboss with clean edges that catch the light.
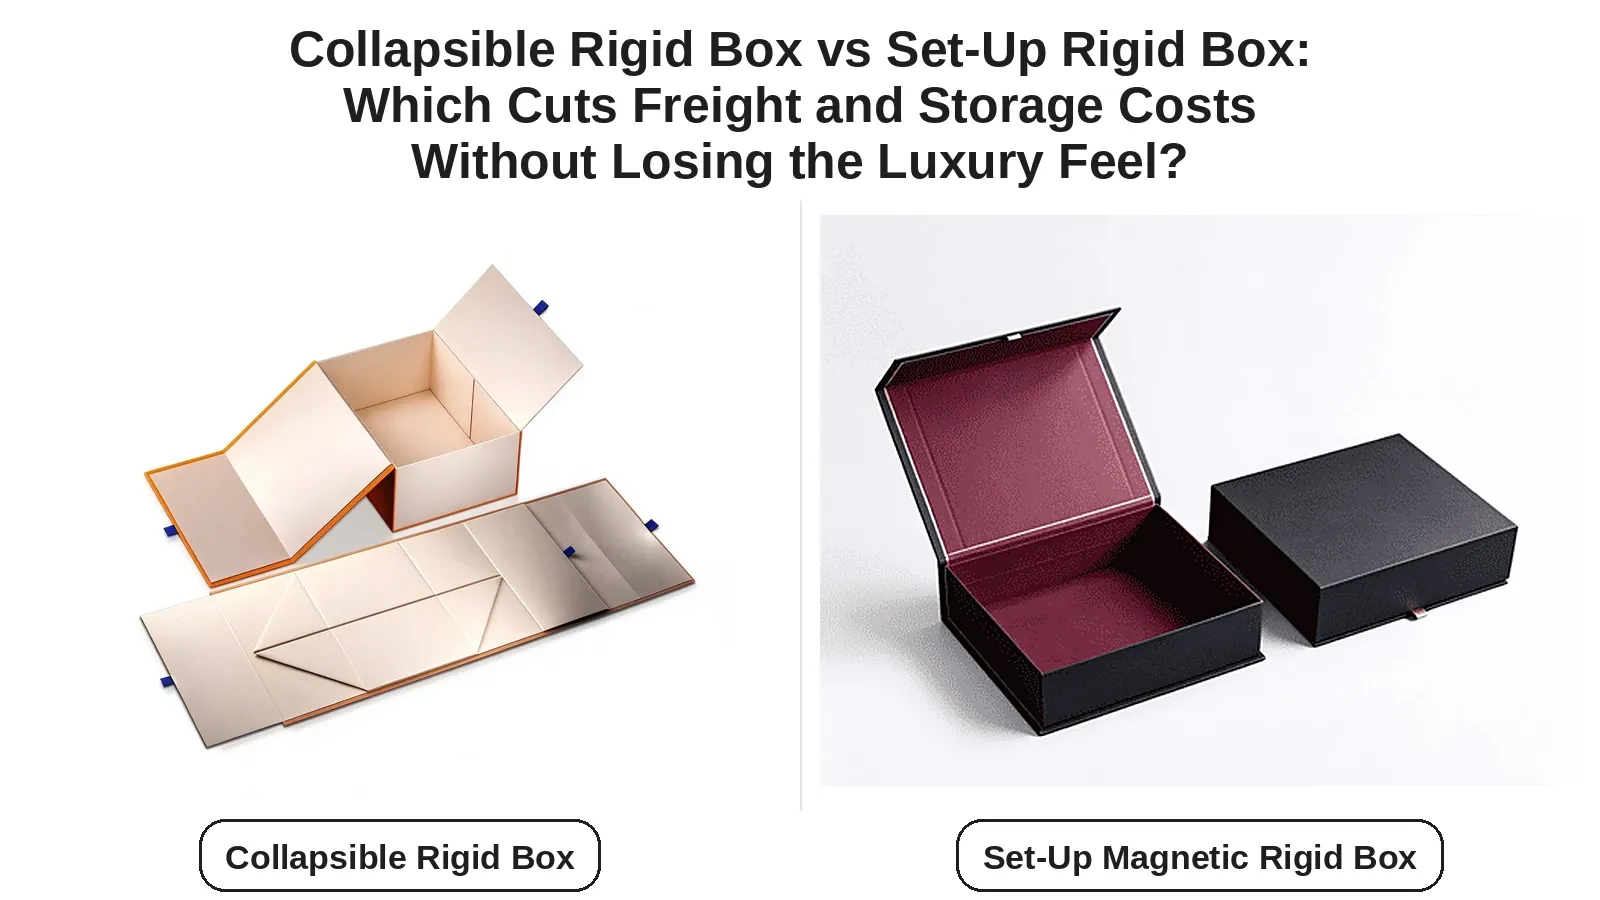
The project this came from was a custom collapsible rigid box — a collapsible magnetic box, quoted for 500 sets, with internal dimensions marked in the dieline. Collapsible boxes ship flat and are assembled later, so the same question comes up for them as for set-up boxes; the difference between the two structures is covered in Collapsible Rigid Box vs Set-Up Rigid Box.
The final specification for the order was:
- Anti-scratch matte lamination
- Debossing, with the face paper and greyboard pressed together
- No spot UV
Why Spot UV and Debossing Don't Mix on a Formed Rigid Box
The original design combined three finishes: matte lamination, debossing, and spot UV. The factory advised taking the spot UV out — not because UV is a bad finish, but because of registration.
Once the face paper is wrapped around the greyboard, the box is formed, and its dimensions are no longer standard. Spot UV is printed to tight registration, so if the surface has moved even slightly during forming, the UV lands in the wrong place. The factory's warning was plain: if the UV is not removed, the UV will be out of register.
That is a general rule for formed rigid boxes, not a one-off problem. Any finish that depends on exact registration with the printed design is at risk once wrapping and forming shift the surface. For a full overview of how the main finishes behave, see the Packaging Finishes Guide, and for the UV options specifically, Spot UV vs Raised Spot UV: What's the Difference?
One alternative did come up in the conversation: debossing combined with hot foil stamping in glossy black. It can be done, and it does make the debossed area more visible — but the factory said it is not as good as debossing alone. If a deep deboss is the priority, debossing on its own gives the best result.
| Option | How it works | Visible depth | Registration risk | Verdict |
|---|---|---|---|---|
| Deboss the face paper only | Thin paper pressed against flat greyboard | Faint — barely visible on 157g coated paper | Low | Not recommended |
| Deboss paper and greyboard together | Both layers pressed after wrapping | Deep and visible | Low | Recommended |
| Deboss + spot UV | UV printed over or near the debossed area | Hidden by misregistration | High — formed dimensions shift, UV lands off-register | Remove the UV |
| Deboss + hot foil in glossy black | Foil stamped into the debossed area | Visible, but weaker than deboss alone | Medium | Possible, second choice |
What to Send Your Supplier So the Deboss Comes Out Right
A clear specification avoids a faint deboss and a wasted sample round. Before production, send your supplier these five things:
- A dieline with internal dimensions marked. In this project the dieline showed internal dimensions, and the quote was based on them. Confirm whether your dieline gives internal or external dimensions before the factory prices the job — see 7 Things to Check on a Packaging Dieline Before Production.
- State the debossing method in words, not just a finish name. Write "deboss the face paper and greyboard together after wrapping" — not just "deboss" — so the factory presses both layers.
- Remove spot UV from the debossed area. If UV is part of the design elsewhere, ask the factory where it can sit safely after forming.
- Specify the lamination. This order used anti-scratch matte lamination, which protects the surface without adding gloss that would fight the matte, pressed look of a deboss.
- Confirm the deboss on a physical sample before production. Check the depth in normal light, not just under a lamp — see 7 Things to Check Before Approving Your Custom Packaging Sample. If you are still choosing a supplier, 8 Questions to Ask a Custom Packaging Supplier Before Ordering covers what to ask up front.
Frequently Asked Questions
Can you deboss 157g coated paper?
Yes, but the effect is faint. 157g coated paper is too thin to hold a deboss on its own — the visible depth comes from pressing the paper and the greyboard together, not from the paper alone.
Can I combine spot UV and debossing on the same rigid box?
Not in the debossed area, on a formed rigid box. Once the face paper is wrapped around the greyboard and the box is formed, dimensions shift and spot UV will not register accurately. The factory's advice on this project was to remove the UV from the design.
Does debossing work on a collapsible magnetic box?
Yes. This case was a collapsible magnetic box, and the recommended method — debossing the face paper and greyboard together after wrapping — applies to it the same way it applies to a set-up rigid box.
What lamination should I use with debossing?
This order used anti-scratch matte lamination. It protects the printed surface from scuffing while keeping the matte finish that suits a pressed, debossed design.
A faint deboss is usually a structure problem, not an artwork problem. Thin face paper pressed against flat greyboard has nowhere to go — press the paper and the board together after wrapping, keep spot UV out of the debossed area, and confirm the depth on a sample before production.
If you are planning a debossed rigid box, send us your dieline and the effect you want. Get a Free Quote at sales@cherubox.com or +86 131 6475 7116, and see the Custom Packaging Boxes Pricing Guide for how finishes affect cost.