Oct 16, 2026Buying Guides
7 Things to Check Before Approving Your Custom Packaging Sample
Before approving a custom packaging sample, check the dimensions, product fit, structure, printing, finishes, inserts, and real-world usability.
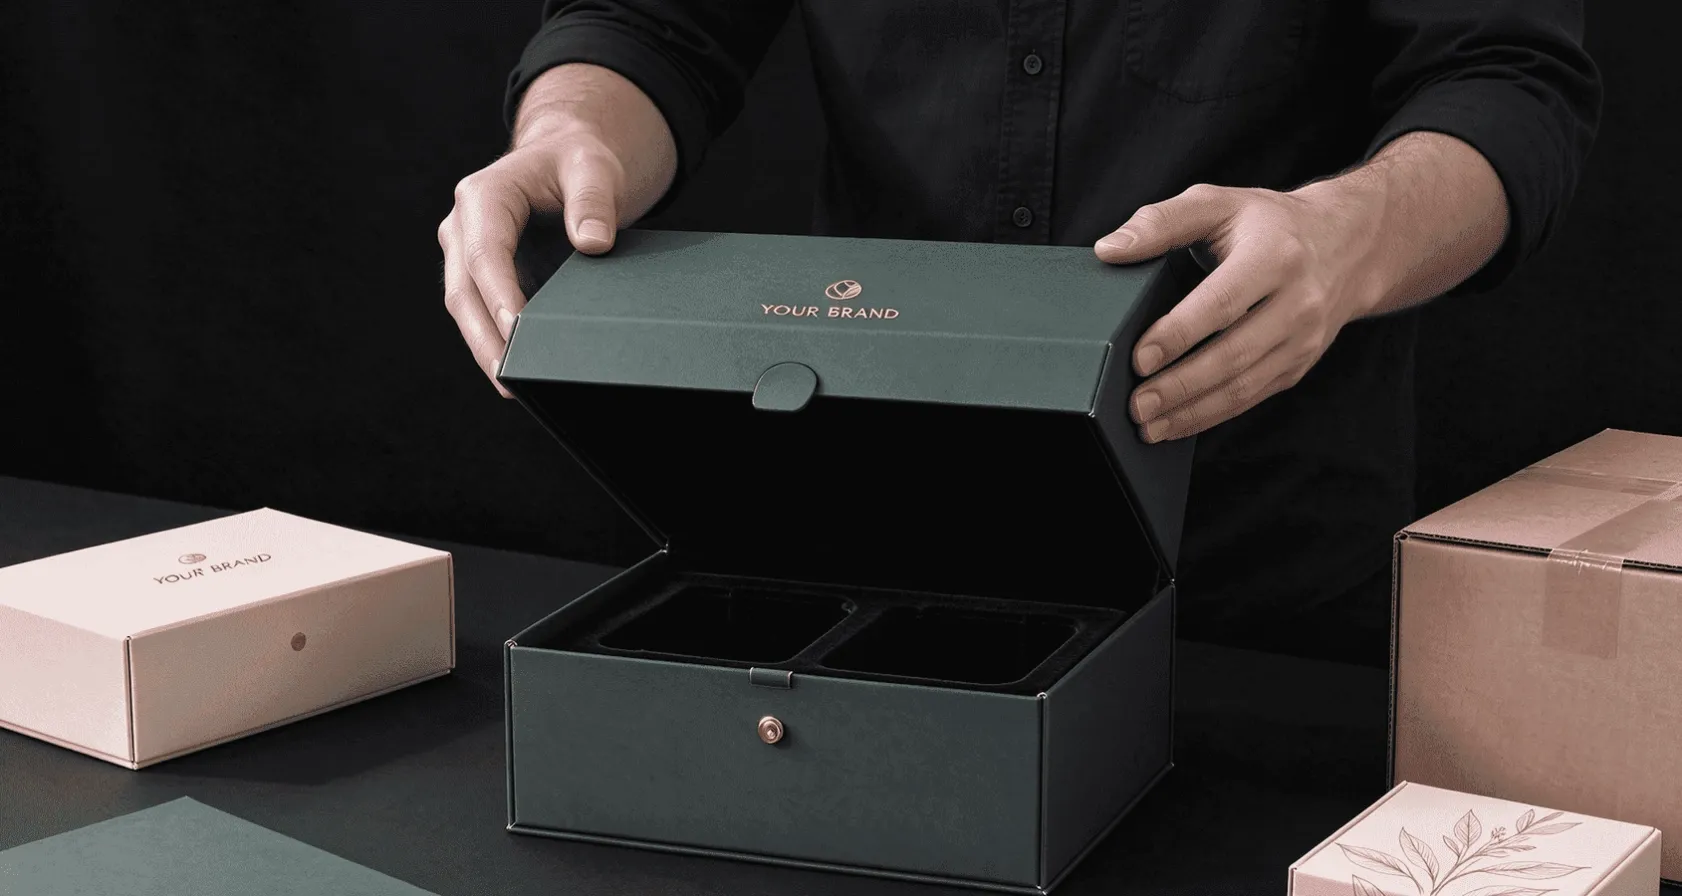
Approving a packaging sample is an important step before mass production.
A sample may look good at first glance, but small problems with dimensions, structure, printing, inserts, or finishing can become much more expensive once thousands of boxes have been produced.
Before approving a custom packaging sample, take the time to check these seven areas.
1. Check the Overall Dimensions
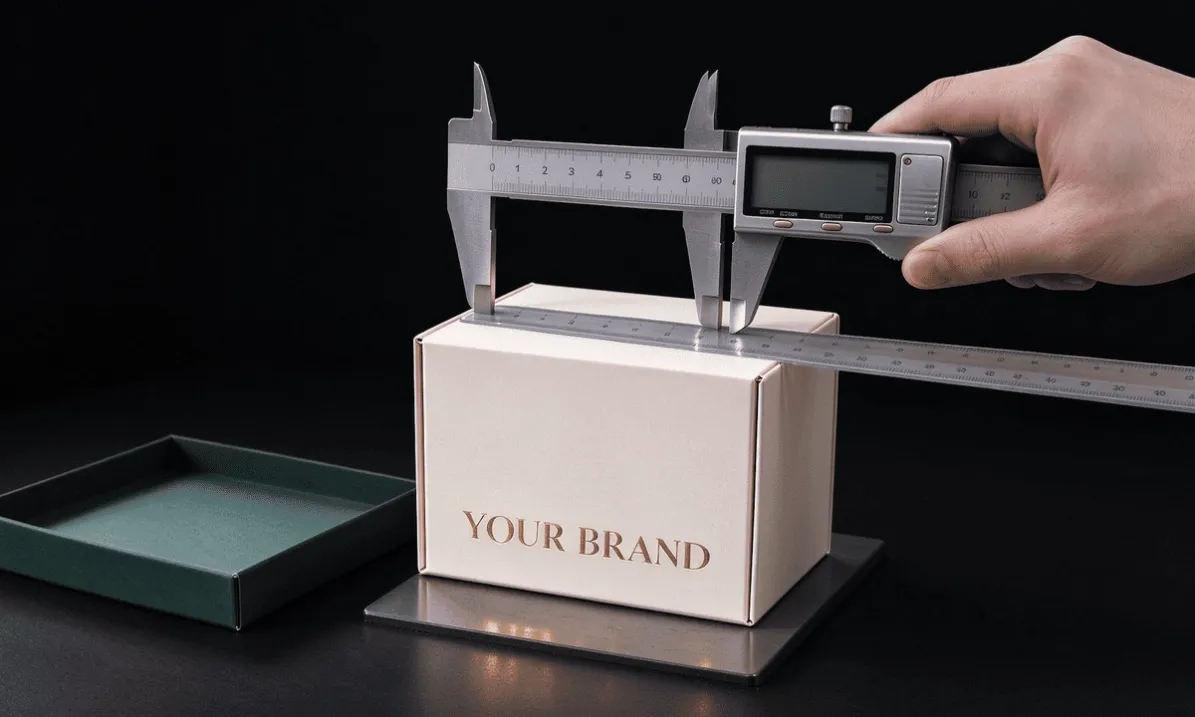
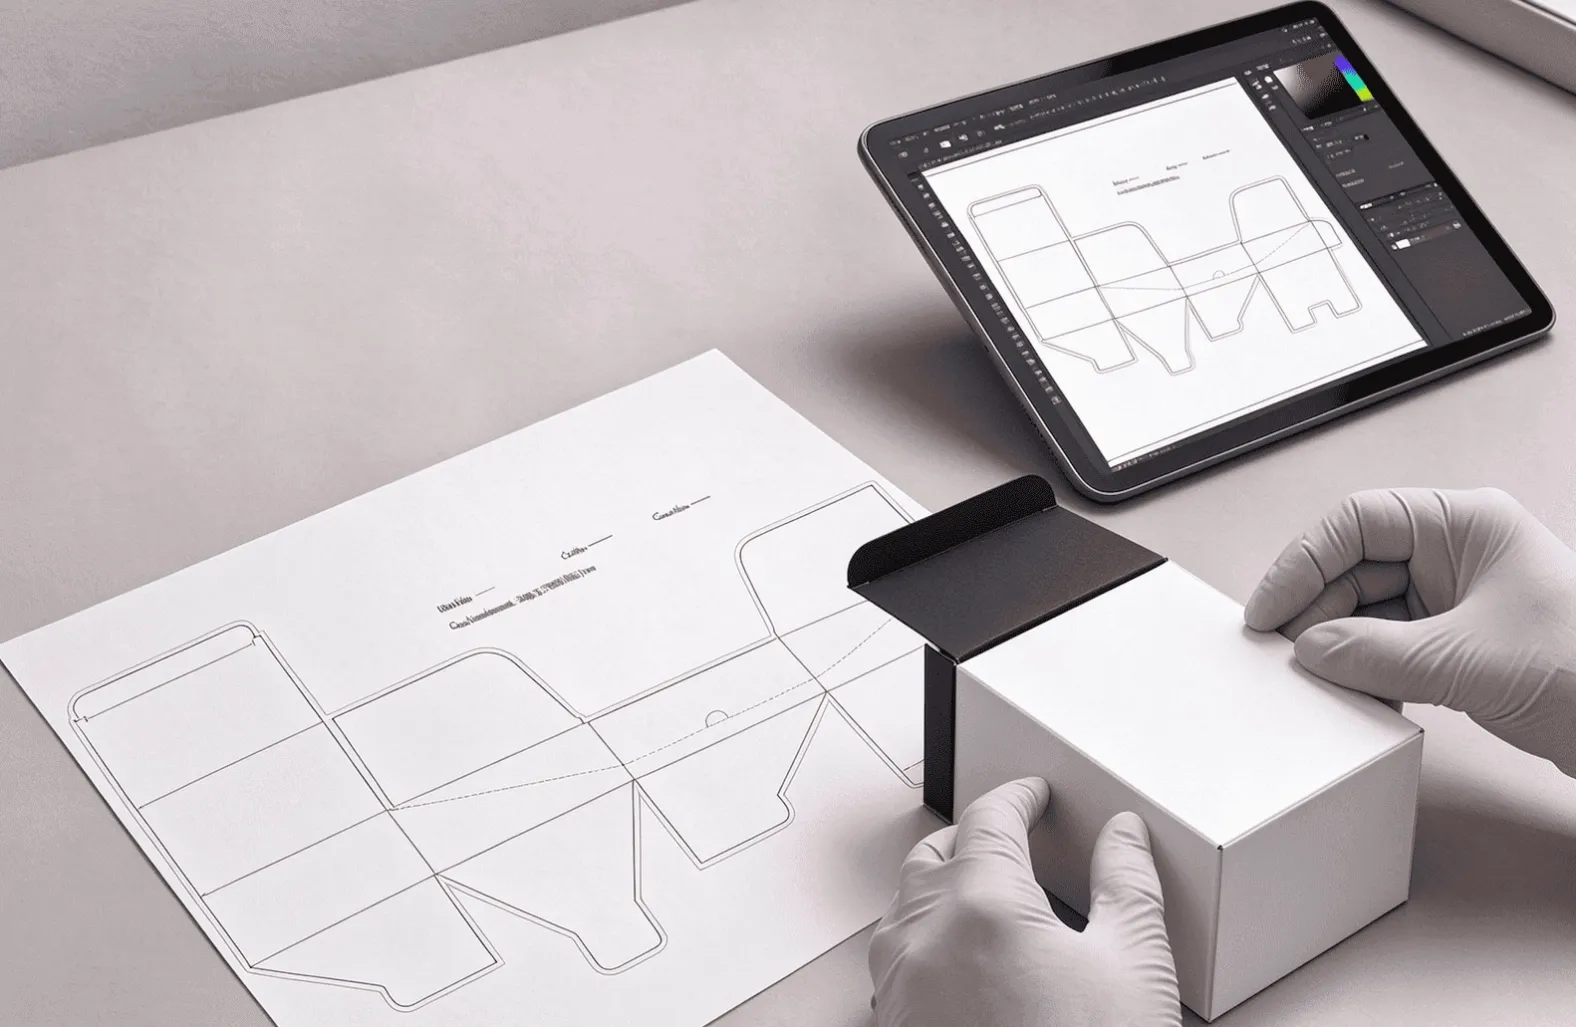
Start with the basic dimensions of the finished box.
Check:
- Length
- Width
- Height
- Lid dimensions
- Internal space
- Insert dimensions
- Closure area
Do not rely only on the dimensions shown on a drawing.
Whenever possible, place the actual product inside the physical sample and check the fit.
Even a small dimensional difference can affect the way a product sits inside the box or how the lid closes.
For packaging with inserts, the box and insert should be evaluated together, not separately.
2. Test the Product Fit
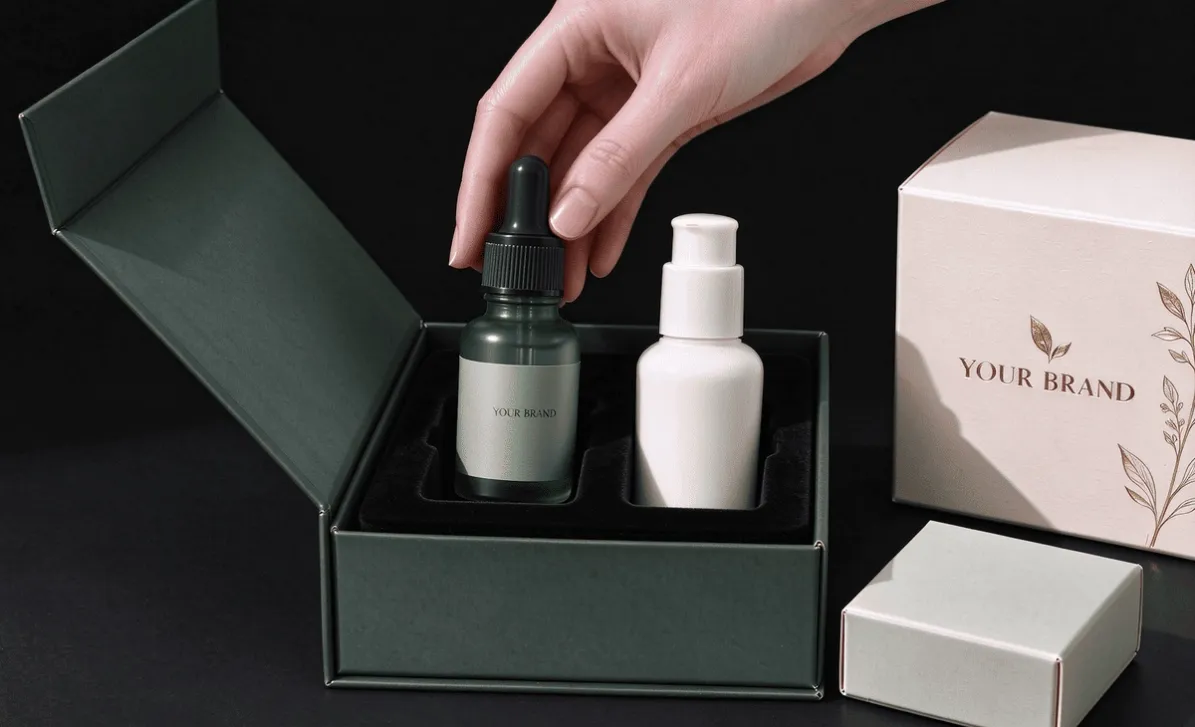
A box can have technically correct dimensions and still provide the wrong product fit.
Place the actual product inside and check whether it:
- Fits easily
- Moves excessively
- Is too tight
- Can be removed easily
- Is properly supported
- Interferes with the lid or closure
If an insert is used, test the actual product rather than testing only the empty insert.
For products with multiple components, test the complete packaging configuration.
The goal is to make sure the product is secure while still providing a practical customer experience.
3. Test the Box Structure and Closure
A packaging sample should be tested as a functional product, not just viewed as a printed box.
Open and close it repeatedly.
Depending on the box style, check:
- Magnetic closure
- Tuck flaps
- Locking tabs
- Drawer movement
- Lid fit
- Glue points
- Self-locking bottom
- Sleeve fit
A structure may look correct when the box is empty but behave differently once the product is inserted.
For example, product weight can affect the way a closure or bottom structure performs.
If possible, test the package in the same orientation and conditions in which customers will normally handle it.
4. Check Printing and Color
Do not inspect only the overall appearance.
Check the details carefully:
- Logo position
- Text
- Artwork alignment
- Color
- Pantone matching
- Print registration
- Bleed
- Print direction
- Inside and outside printing
If the project uses a specific Pantone color, compare the sample against the approved reference.
Keep in mind that color appearance can be affected by:
- Paper surface
- Coating
- Lamination
- Printing method
- Finishing
For important brand colors, it is better to identify any concerns during the sample stage rather than after mass production.
[Pantone Printing for Packaging: What Buyers Need to Know]
5. Check Special Finishes
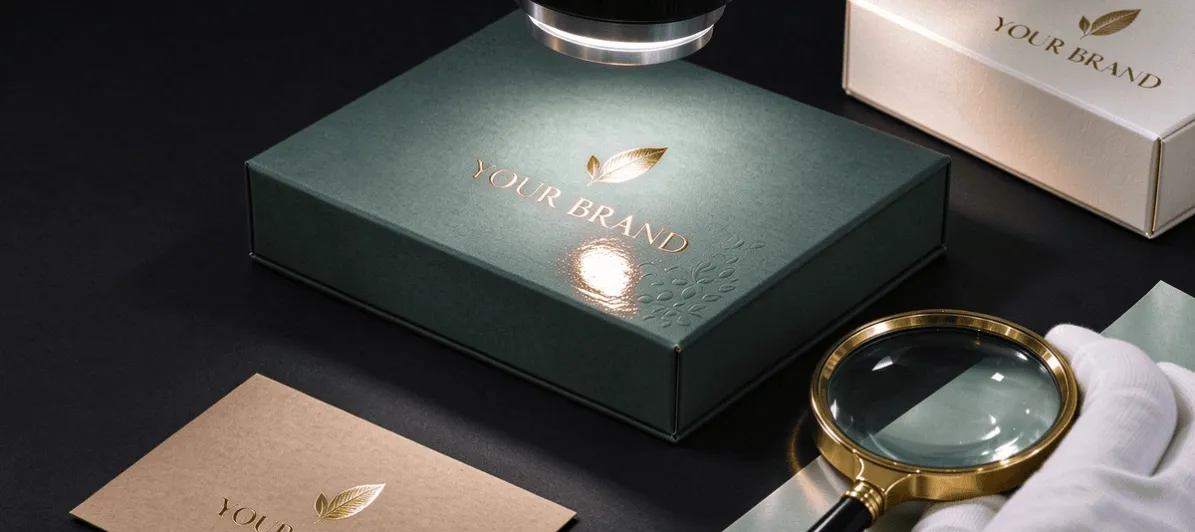
If the packaging includes special finishing, inspect each area separately.
For example:
- Foil stamping
- Embossing
- Debossing
- Spot UV
- Raised spot UV
- Matte lamination
- Gloss lamination
Check whether each finish is:
- In the correct position
- Consistent with the artwork
- Visually appropriate
- Properly registered
For example, a black-on-black spot UV design may intentionally create a subtle effect rather than a highly visible contrast.
The sample should be evaluated according to the intended design rather than simply asking whether the finish is noticeable.
[Spot UV vs Raised Spot UV: What's the Difference?]
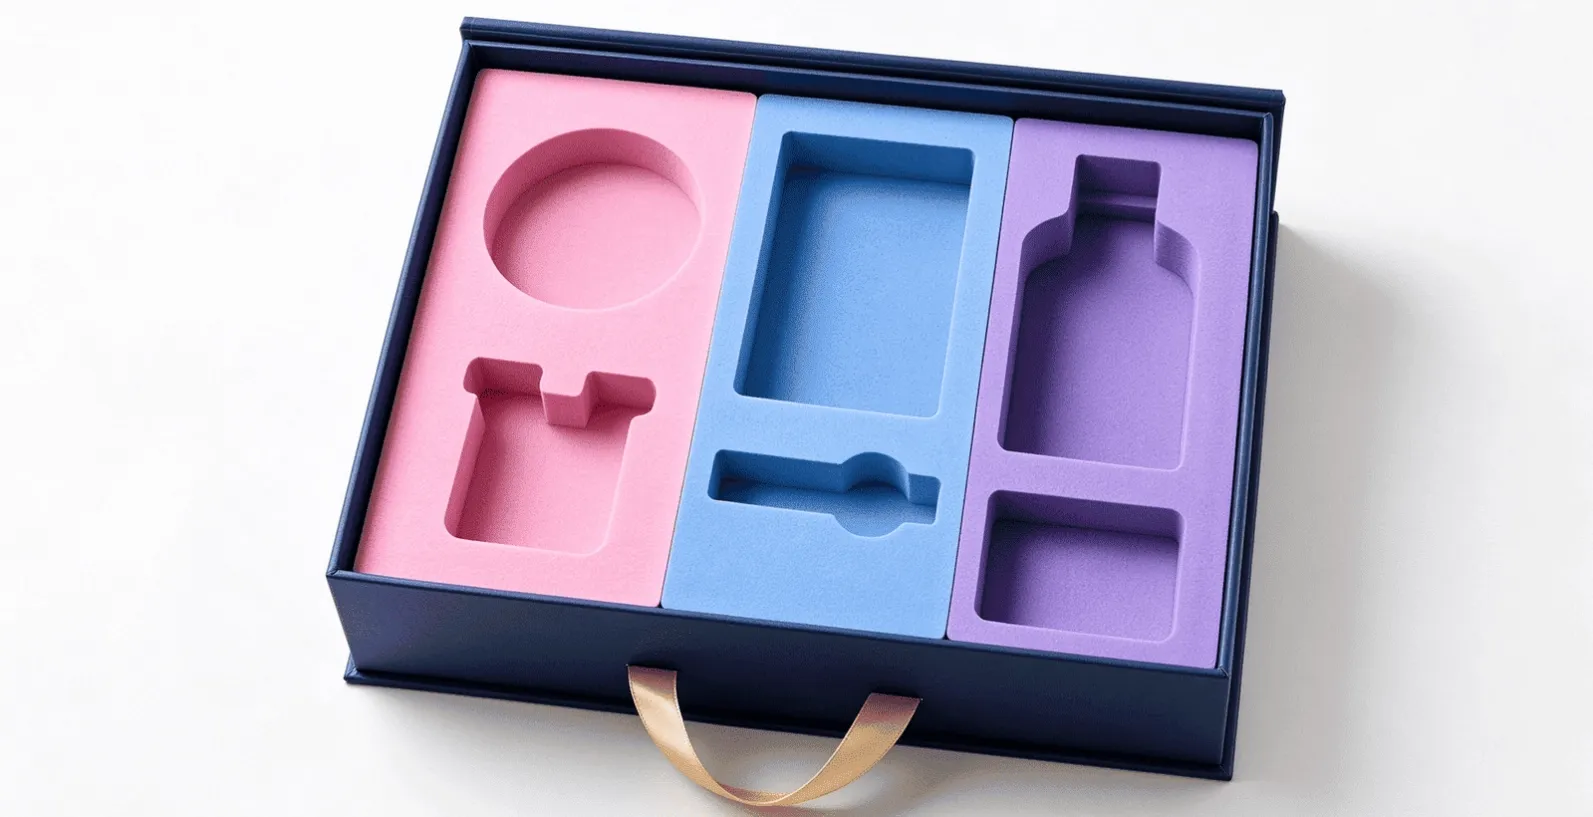
6. Check the Insert and Product Protection
If the packaging includes an insert, don't treat it as a separate component.
Test the complete system:
Product + Insert + Box
Check:
- Product movement
- Product protection
- Insert stability
- Product presentation
- Ease of product removal
- Whether the insert can damage the product
- Whether the insert affects box closure
For products that will be shipped internationally, also consider how the complete package may perform during transportation.
A good packaging insert should not only look attractive. It should also perform its protective function.
[How to Design Packaging Inserts for Product Protection]
7. Test the Packaging the Way the Customer Will Use It
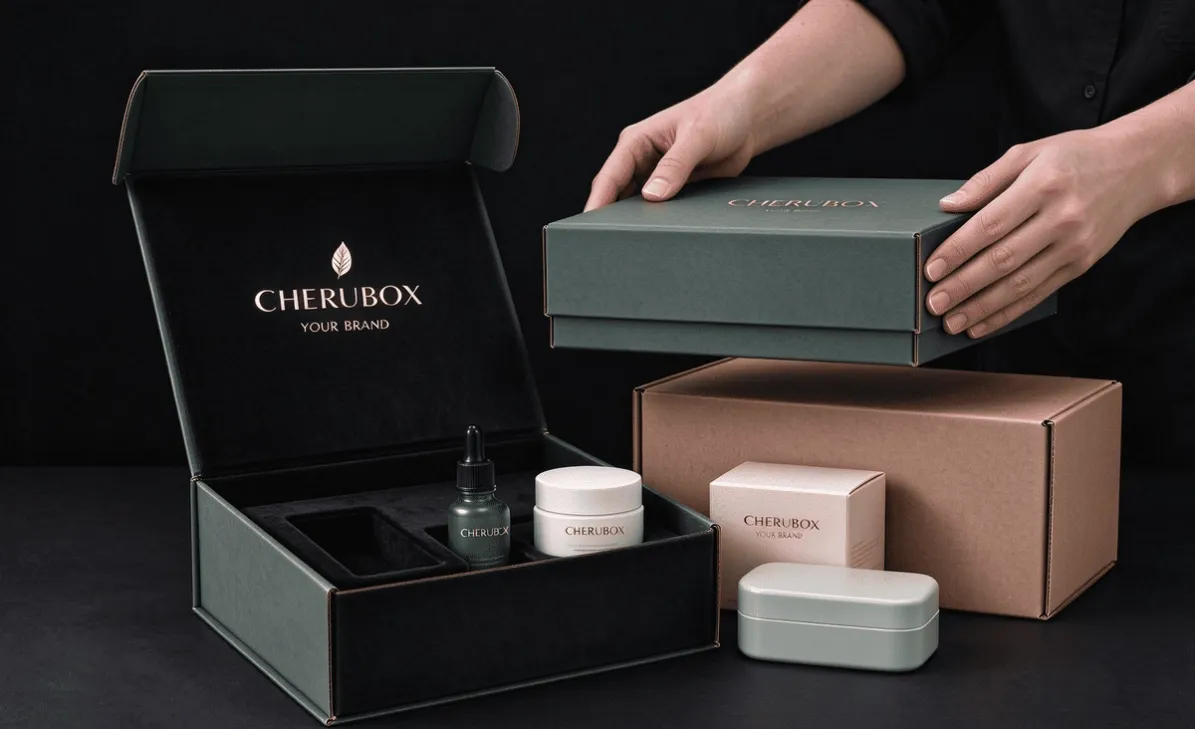
This is one of the most important checks—and one of the easiest to overlook.
Don't just look at the sample.
Use it.
Put the product inside.
Open it.
Close it.
Remove the product.
Check the closure.
If the package could realistically be turned upside down during handling, test that condition as well.
For shipping-sensitive products, consider gentle movement or handling tests appropriate to the packaging.
The goal of a sample is not simply to prove that the box can be manufactured.
It is to confirm that the finished packaging works as intended.
Final Thoughts
A packaging sample is your opportunity to identify problems before they become production problems.
Before approving your sample, check:
- Dimensions
- Product fit
- Structure and closure
- Printing and color
- Special finishes
- Inserts and product protection
- Real-world usability
Taking a little extra time at the sample stage can help prevent costly changes, delays, and production issues later.
Need Help Reviewing Your Packaging Project?
If you're developing a new custom packaging project, send us your product dimensions, packaging drawings, artwork, or sample photos.
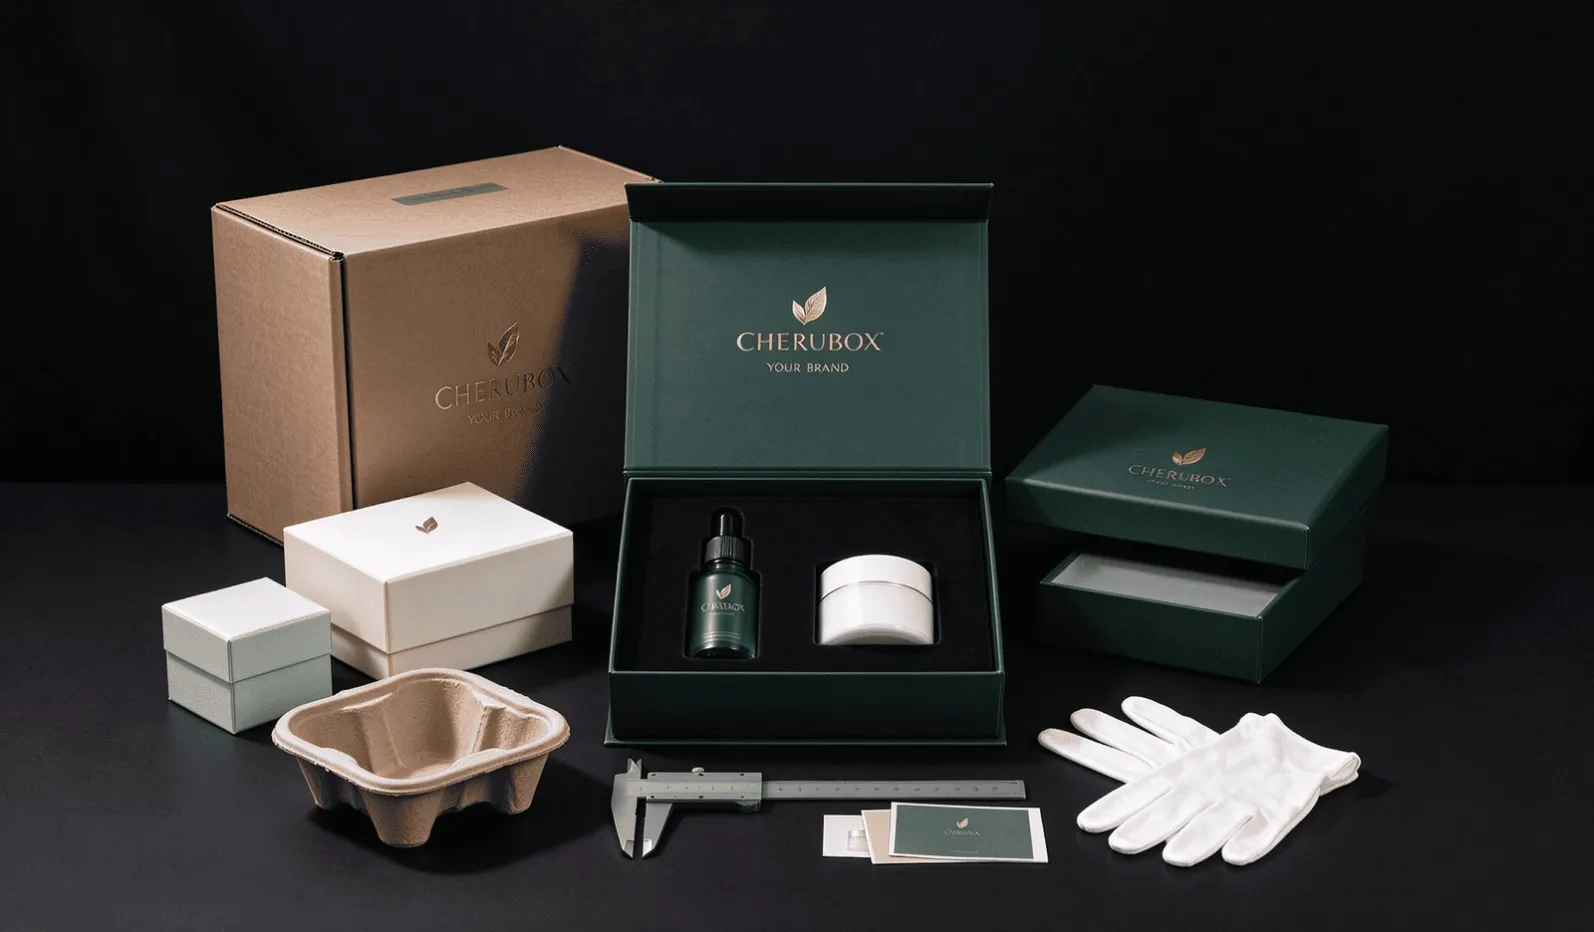
The Cherubox team can help review the structure, materials, inserts, printing, and finishing before mass production.