Oct 21, 2026Buying Guides
How to Design a Custom Packaging Insert: A Practical Guide
Learn how to design a custom packaging insert — measure the product, define its purpose, choose the right material, and test the fit before production.

How to Design a Custom Packaging Insert
A custom box looks great on its own, but the insert is what makes the product sit right, stay protected, and feel intentional when the customer opens the lid. A well-designed insert holds the product securely, supports fragile areas, and creates a clean unboxing moment. A poorly designed one can make the box too tight to load, allow the product to shift in transit, or simply waste space and cost. Designing an insert is not about choosing a generic tray. It starts with your product and ends with a physical test. Here is how to approach it in four practical steps.

Why the Insert Matters
The insert does more than hold the product in place:
- Protection — it prevents movement, cushioning fragile surfaces during shipping.
- Presentation — a neat insert frames the product and elevates the unboxing experience.
- Organization — gift sets or multi-component products stay in the intended arrangement.
- Cost — the right insert can sometimes replace a heavier, over-engineered outer box.
- Measure Your Product
Start by measuring every product that will sit inside the insert.Include:
- Caps, pumps, lids, closures, and wrappers
- Labels, seams, and any protruding parts
- Product variations across SKUs or production batches
- Accessories that will share the same box
If the product is fragile, identify the areas that need the most support — for example, a glass bottle's shoulders, a delicate surface, or a corner that cracks easily. The insert should be designed around those weak points, not just the overall footprint.For a multi-product gift set, measure each component separately and plan how they will sit together.
- Define the Insert Purpose
Before choosing a material, be clear about what the insert needs to do.Common purposes:
- Shipping protection — stronger cushioning, especially for e-commerce and international freight.
- Retail display — the insert frames the product on the shelf or in the box.
- Premium unboxing — visual balance, clean cutouts, and a "reveal" moment.
- Product organization — keeps multiple components in their intended positions.
- Sustainability — recyclable or molded-pulp alternatives.
A shipping-focused insert may prioritize cushioning over appearance. A gift-set insert may prioritize visual balance and symmetry. Defining the purpose early prevents you from over-engineering or under-protecting.
- Select the Right Material
Different insert materials suit different products and budgets.
Material | Best for | Notes |
Paperboard | Lightweight retail products, cosmetic boxes | Economical, printable, good for rigid gift sets |
Corrugated board | Heavier products, shipping protection | Stronger cushioning; visible fluting |
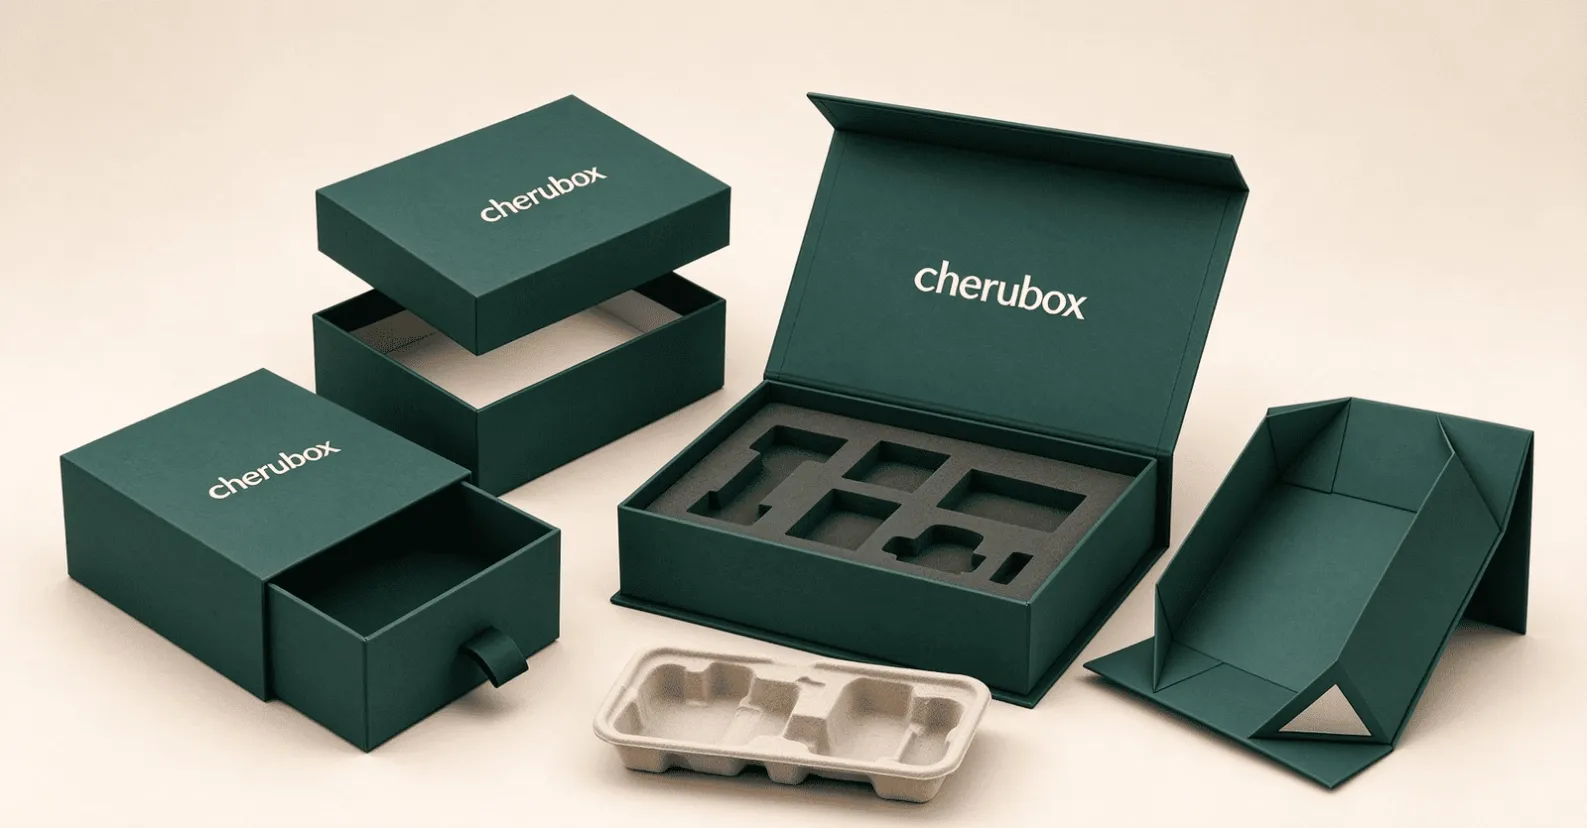
Molded pulp | Sustainable shipping inserts, fragile items | Eco-friendly, molded to shape, good protection |
Foam / EVA | High-value, fragile, irregular products | Premium fit; can be custom-cut or die-cut |
Specialty (velvet, flocked) | Luxury presentation | Adds tactile feel; higher cost |
The material should match the product weight, the shipping distance, and the unboxing experience you want. Lighter products often do not need foam — paperboard or molded pulp may be enough. Heavier or fragile items may require corrugated or specialty inserts.Discuss material options with your supplier; what looks great on a sample may not survive a long shipping route.
- Test the Fit
A drawing does not prove fit. Test the insert with the actual product.Check:
- Hold — does the product sit securely, without shifting when the box is gently shaken?
- Removal — can the customer take the product out easily, without prying?
- Loading — can the packer place the product in quickly without forcing it?
- Closure — does the box close properly with the insert and product inside?
- Protection — do fragile areas have enough support during handling?
If customers struggle to remove the product, the insert may be too tight. If the product moves when the box is shaken, the cutout may need adjustment. For more on validating the full package, see our guide on 7 Things to Check Before Approving Your Custom Packaging Sample.
Common Insert Design Mistakes
- Designing to the product outline, not the actual product — caps, pumps, and labels get forgotten.
- Choosing the material after the box size is locked — the insert occupies internal space and can change the required box size. See How to Choose the Right Box Size.
- Forgetting shipping conditions — an insert that looks fine on a desk may fail during international transit.
- Over-engineering — adding foam where paperboard would work, increasing cost unnecessarily.
- Skipping the physical test — a die-line is not a substitute for a real-product fit check.
Insert Design Checklist
Step | What to confirm |
1. Measure the product | Include caps, pumps, labels, and fragile points |
2. Define the purpose | Protection, display, unboxing, organization, or sustainability |
3. Choose the material | Match product weight, shipping route, and experience |
4. Test the fit | Hold, removal, loading, closure, and protection |
Not sure which insert fits your product? Send us your product dimensions, weight, and photos, and our team — backed by a US + China design team and low MOQs — will recommend an insert material and cutout that balances protection, presentation, and cost. Get a Custom Packaging Quote →
Frequently Asked Questions
What is the best material for a custom packaging insert?
It depends on the product. Paperboard suits lightweight retail products; corrugated or molded pulp suits shipping protection; foam or EVA suits high-value and fragile items. Choose based on product weight, shipping distance, and desired unboxing experience.
Do I need a physical sample of the insert?
Yes. A drawing or dieline cannot prove that the product fits, removes easily, or stays secure during handling. Test the insert with the actual product before approving mass production.
Can the insert reduce my overall packaging cost?
Sometimes. A well-designed insert can provide the needed protection without over-sizing the outer box, potentially reducing material and shipping volume. See 7 Ways to Reduce Custom Packaging Costs.
What is the difference between paperboard and molded pulp inserts?
Paperboard is economical and printable, common in rigid gift and cosmetic boxes. Molded pulp is molded to shape, eco-friendly, and often preferred for shipping protection and fragile items.
Need Help Designing Your Packaging Insert?
Cherubox helps brands and wholesale buyers develop custom paper packaging with inserts that fit, protect, and present the product — including rigid boxes, folding cartons, mailer boxes, paperboard and molded-pulp inserts. Share your product dimensions, weight, quantity, and photos, and we'll recommend an insert design and material that suits your product and budget. Request a Custom Packaging Quote → Email: sales@cherubox.com